Want to make your own mask? Six tips I learned from trial and error
You don’t have to sew—or even spend more than 10 minutes—to put together a non-medical face mask that could help prevent the spread of infection

(Patricia Treble)
Share
Now that officials have blessed the use of non-medical face masks as a way to lessen the chance of you spreading possible infections to others, thousands of Canadians have pulled their sewing machines out of storage. Sure, there are some quite elaborate patterns out there, requiring items—such as thin elastic cord—that are pretty much sold out around the world. But have no fear. Making masks doesn’t require advanced sewing skills or equipment (I have neither). It doesn’t even have to involve a sewing machine. Trust me.
On the weekend, I created a mask that involved no sewing at all, just a piece of fabric and two regular rubber bands, following the U.S. surgeon general’s own instructional video. Then, I improved it a bit (see tip no. 5) with some hand sewing. Time from start to finish: five to 10 minutes, sewing and ironing included.
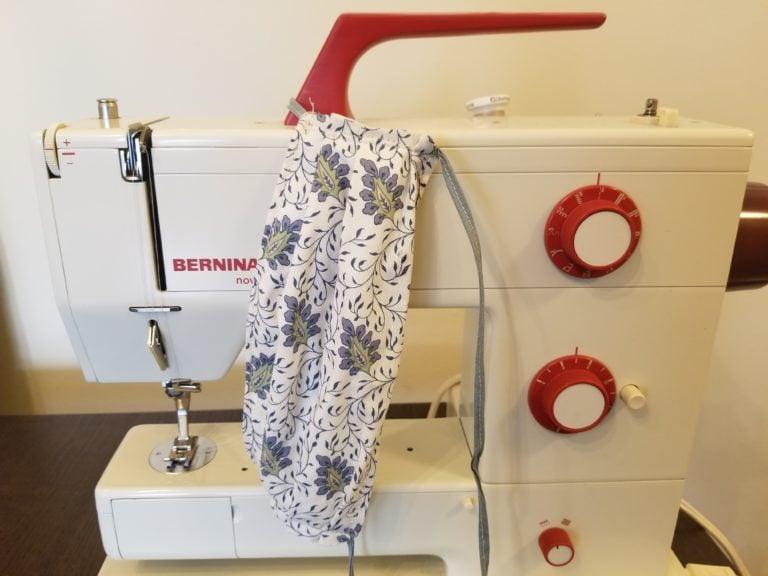
As well, I pulled my Bernina sewing machine out of storage. It was my mother’s and is so old that virtually all the parts are metal rather than plastic. It has no fancy settings or stitches or any electronics at all. I created four fabric masks following the easy, step-by-step instructions on the New York Times website. The first took about 30-40 minutes to master, the rest were faster and faster.
Along the way, I figured out a few tips that will help others make their own masks.
- Know your skill level: If you’ve never sewed, go for the no-stitch version. If you can do basic sewing with a machine, then there are lots of options online.
- If you are going to sew, be ready to adapt, adapt, adapt: I had no elastic to hold the mask to my head, so I made long ties out of fabric (a friend cut new shoelaces in half). For those without straight pins to hold together the layers of fabric, try safety pins. Or ask a neighbour for some supplies.
- Create a template out of paper or cardboard before cutting out the fabric: It’s basically a rectangle, so no high-level skills are involved. And yes, making thin lines with pen on the fabric as guides for cutting is absolutely okay. You’re making a mask, not an evening gown.
- Iron as you go, as often as possible: Every sewer knows that repeated ironing is crucial to a good outcome. As I planned where the pleats would land on the mask itself, I tried different options, ironing as I went, until I was satisfied. Then I pinned and sewed.
- If you don’t have a sewing machine and want to improve a no-sew mask, then scrounge around for a needle and thread: They are probably there, somewhere. Use them to sew the ends of the fabric closed, and maybe also create a semblance of the pleats created in sewn versions that help shape the mask to the face. It doesn’t have to be pretty, it just has to work.
- Use the best fabric you have: The anesthesia and informatics media lab at the University of Stanford’s department of medicine has done analysis on the effectiveness of common fabrics when used in non-medical masks. In order, they are:
- tea towel
- cotton-mix fabric (such as cotton-polyester)
- antimicrobial pillowcase
- linen
- cotton T-shirt
- pillowcase (the higher the thread count, the better)
- silk
- scarf
I used a tightly woven cotton fabric which I’d bought years ago for some long-forgotten project. I washed and dried it on high heat. I cut up a pillowcase for the inside layer. And yes, I ironed both the fabric and pillowcase material to get them as smooth as possible before cutting.
The end results won’t win me any home-ec awards, but I’ve used my homemade masks all week when walking outside. Best of all, they were free.